NGINX Reverse proxy#
At OVH and at Free we have a LXC container dedicated to reverse proxy http/https applications.
It serves applications that are located in servers at the same provider (and same Proxmox cluster).
Network specific interface#
It as a specific network configurations with two ethernet address:
- one internal, to communicate with other VMs
- one which is bridged on host network card, with ip fail over mechanism.
Important: only the public ip should have a gateway 1
Banning bots#
We ban bots from the reverse proxy (more efficient and centralized). Most of the time this is a manual ban.
See How to use fail2ban to ban bots
Configuring a new service#
To make a new service, hosted on Proxmox, available you need to:
- have this service available on proxmox internal network
- in the DNS, CNAME you service name to
proxy1.openfoodfacts.orgfor OVH (ovh1..3)off-proxy.openfoodfacts.orgfor Free (off1..2)
- write a configuration on nginx for this service
- eventually add https
Steps to create Nginx configuration#
Imagine we have to configure my-service.openfoodfacts.net, to route request to container 222, port 8888.
You will have to be root to do that.
Login on the Nginx reverse proxy container (101) and launch a Bash session as root.
Create the basic configuration file for your service in /etc/nginx/conf.d directory, named after your service, eg. my-service.openfoodfacts.net.conf.
Important: your file has to ends with .conf to be taken into account.
It's a good idea to first test it exists, using nc and curl:
nc -vz 10.1.0.222 8888
curl  http://10.1.0.222:8888
Create a config, say:
server {

    listen 80;
    listen [::]:80;
    server_name  my-service.openfoodfacts.net;

    access_log  /var/log/nginx/my-service.off.net.log  main;
    error_log   /var/log/nginx/my-service.off.net.err;

    location / {
        proxy_pass http://10.1.0.222:8888$request_uri;
        proxy_set_header Host $host;
        proxy_set_header X-Real-IP $remote_addr;
        proxy_set_header X-Forwarded-For $proxy_add_x_forwarded_for;
        proxy_set_header X-Forwarded-Proto https;
        proxy_read_timeout 90;
        client_max_body_size 512M;
    }

}
If you need more nginx docs are here
We test nginx configuration is ok (Mandatory)2:
$ nginx -t
nginx: the configuration file /etc/nginx/nginx.conf syntax is ok
nginx: configuration file /etc/nginx/nginx.conf test is successful
if it's ok, we reload.
$ systemctl reload nginx
Next step is probably to setup https (putting something in http should be an exception, with good reason for that !) Otherwise jump to EtcKeeper
How to add https#
Most of the time https certificates are managed on the nginx reverse proxy VM. Here is how to configure them to enable https.
We use certbot to manage certificates.
First prepare the service definition to answer on port 443 and 80. That is:
- change your current configuration to listen on 443:
{
  server {

  listen 443;
  listen [::]:443;
  server_name  my-service.openfoodfacts.net;
  …
- but after it, add a new bare section for port 80:
server {
  listen 80;
  listen [::]:80;
  server_name  my-service.openfoodfacts.net;
}
We will first validate our config using --test-cert option (WARNING only skip this part if you really are used to certbot and nginx configuration, as after five tentatives, we won't be able to renew any certificates on the domain for one full week, and if you do too much error, the IP itself might be out of limit, see letsencrypt Rate limits)
$ certbot --test-cert -d my-service.openfoodfacts.net
…
Enter email address (used for urgent renewal and security notices) (Enter 'c' to
cancel): root@openfoodfacts.org
…
terms of service…
(A)gree/(C)ancel: A
…
share email…
(Y)es/(N)o: n

Obtaining a new certificate
Performing the following challenges:
http-01 challenge for my-service.openfoodfacts.net
Waiting for verification...
Cleaning up challenges
Deploying Certificate to VirtualHost /etc/nginx/conf.d/my-service.openfoodfacts.net.conf
Note: verify it's the right file which has been impacted ! If it's not you may have the option to restore the file with git checkout wrong-touched-file (but look before with git status)
Test it's working (apart from the security alert in your browser, because certificate is from an unknown issuer).
Then install the real certificate (you get the first section if you first did a test certificate):
$ certbot -d my-service.openfoodfacts.net
1: Attempt to reinstall this existing certificate
2: Renew & replace the cert (limit ~5 per 7 days)
Select … [enter] (press 'c' to cancel): 2
…
Enter email address (used for urgent renewal and security notices) (Enter 'c' to
cancel): root@openfoodfacts.org
…
terms of service…
(A)gree/(C)ancel: A
…
share email…
(Y)es/(N)o: n

Obtaining a new certificate
Performing the following challenges:
http-01 challenge for my-service.openfoodfacts.net
Waiting for verification...
Cleaning up challenges
Deploying Certificate to VirtualHost /etc/nginx/conf.d/my-service.openfoodfacts.net.conf
Test again if it's working
Multiple domains#
If you're in the case where same configuration must serve multiple domains, like ui.my-site.openfoodfacts.net and api.my-site.openfoodfacts.net,
simply add all those domain to the certbot command with the -d parameters.
For example:
certbot -d ui.my-site.openfoodfacts.net -d api.my-site.openfoodfacts.net -d my-site.openfoodfacts.net
If a certificate already exists for a domain, certbot will propose to extend it with the other domains.
Wildcard certificates#
Certbot can deliver wildcard certificates for domains based on DNS challenges. So you need a plugin for your DNS provider.
In our case, this is the plugin for ovh. Installing python3-certbot-dns-ovh did works in our case.
Access tokens are stored in /root/.ovhapi/
How to add wildcard certificates#
Official documentation: https://certbot-dns-ovh.readthedocs.io/en/stable/ and https://certbot.eff.org/instructions?ws=nginx&os=debianbuster Official documentation requires snapd… we are not keen on that, and moreover, in a lxc container it does not seems to work well. So we go the alternate way, using the debian package.
sudo apt update
sudo apt install certbot python3-certbot-dns-ovh
Here we will use openpetfoodfacts.org as the domain name.
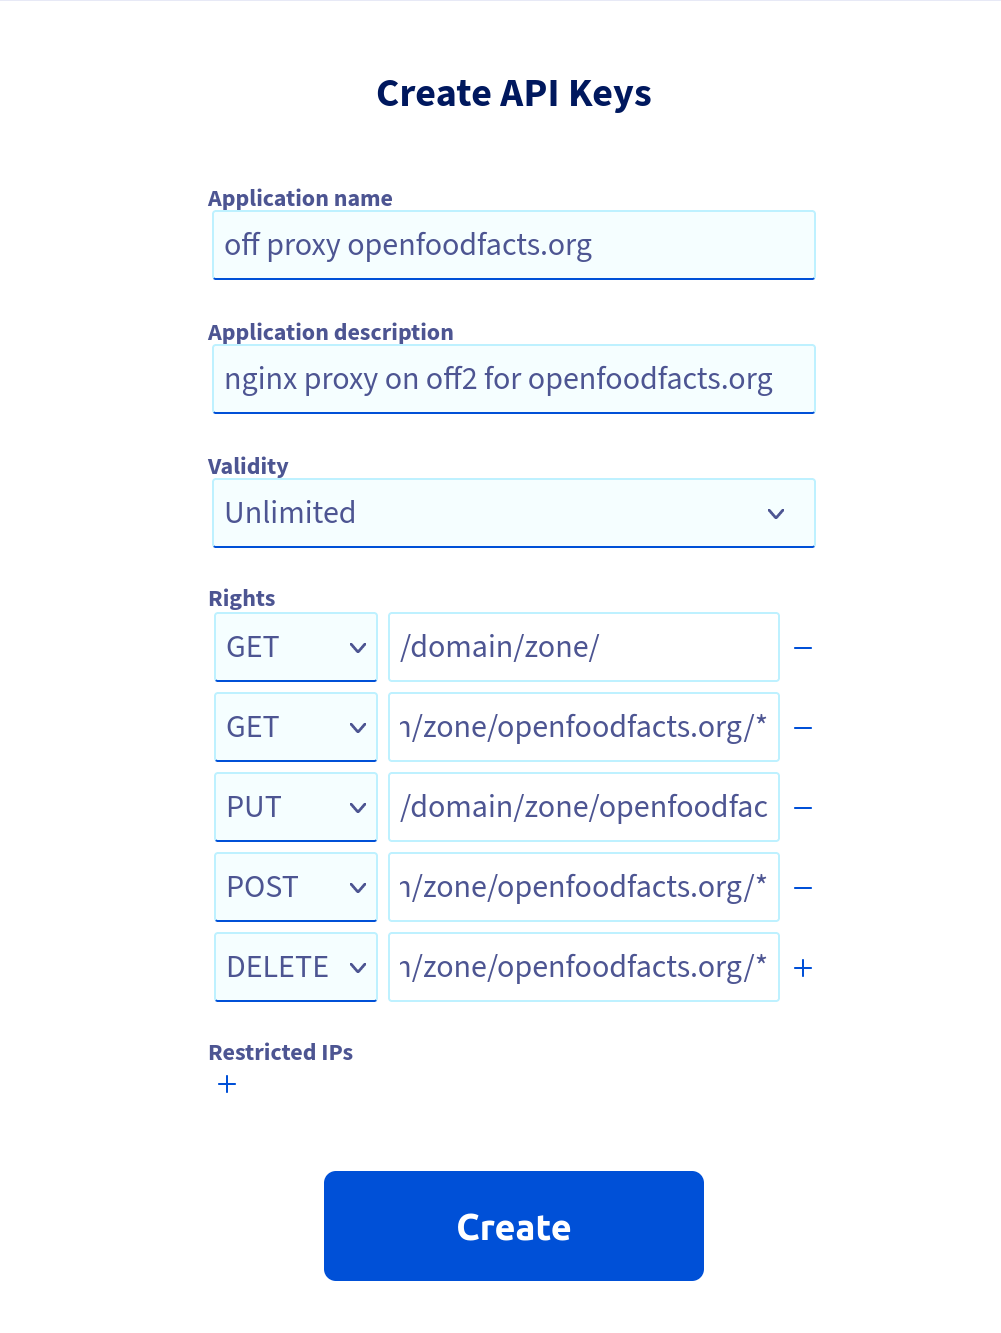
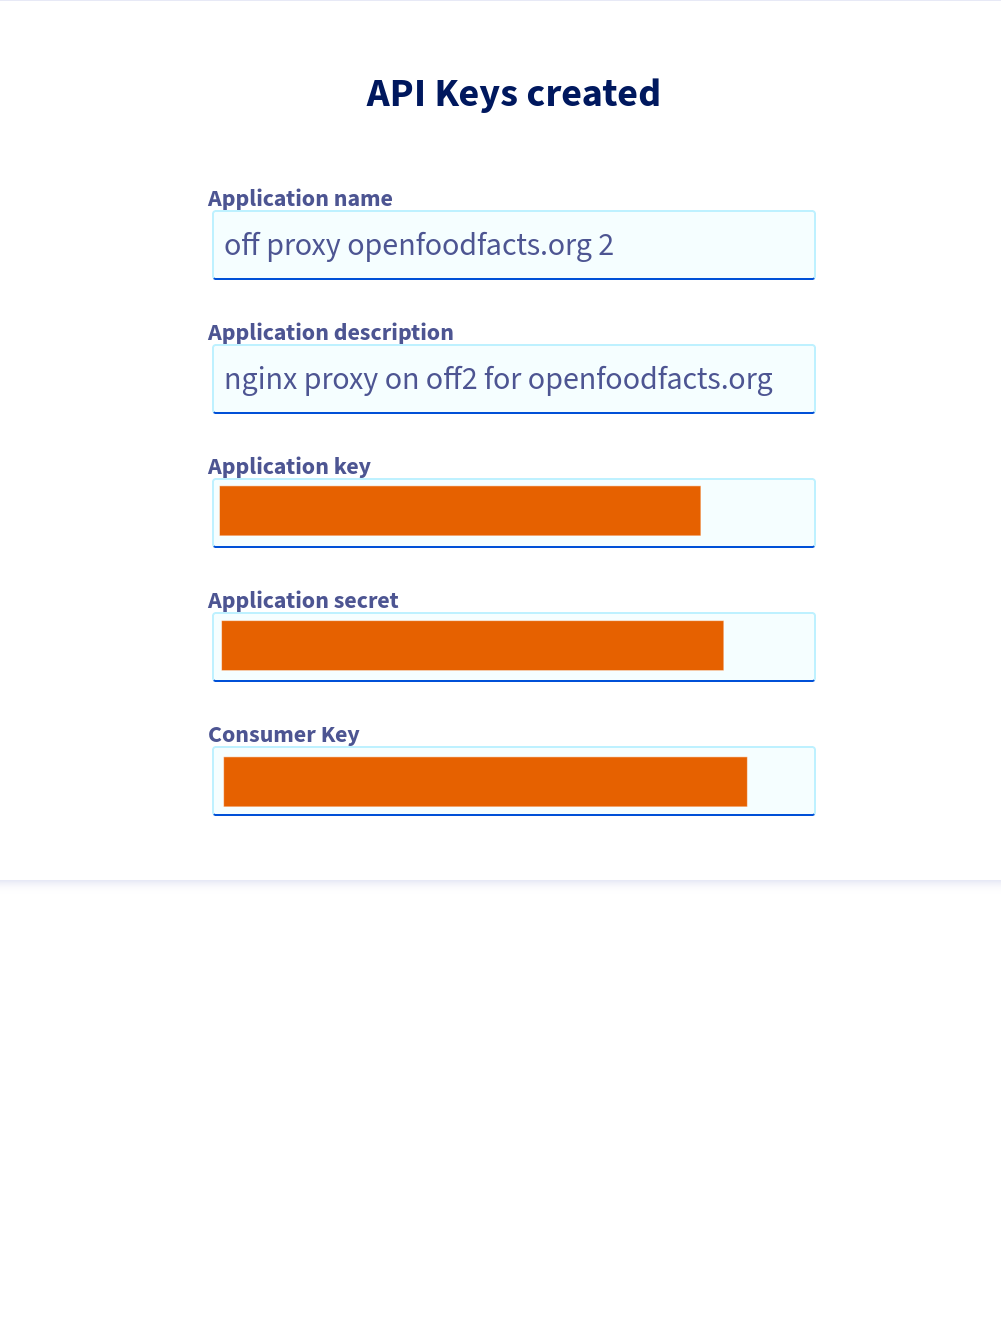
Generate credential, following https://eu.api.ovh.com/createToken/
(useful resource for OVH keys management)
Using:
- GET
/domain/zone/(Note: the trailing slash is important !) - GET/PUT/POST/DELETE
/domain/zone/openpetfoodfacts.org/*
and we put config file in /root/.ovhapi/openpetfoodfacts.org
$ mkdir /root/.ovhapi
$ vim /root/.ovhapi/openpetfoodfacts.org
...
$ cat /root/.ovhapi/openpetfoodfacts.org
# OVH API credentials used by Certbot
dns_ovh_endpoint = ovh-eu
dns_ovh_application_key = ***********
dns_ovh_application_secret = ***********
dns_ovh_consumer_key = ***********

# ensure no reading by others
$ chmod og-rwx -R /root/.ovhapi
Try to get a wildcard using certbot, we will choose to obtain certificates using a DNS TXT record, and use tech -at- off.org for notifications
$ certbot certonly --test-cert --dns-ovh --dns-ovh-credentials /root/.ovhapi/openpetfoodfacts.org -d openpetfoodfacts.org -d "*.openpetfoodfacts.org"
...
Plugins selected: Authenticator dns-ovh, Installer None
Requesting a certificate for openpetfoodfacts.org and *.openpetfoodfacts.org
Performing the following challenges:
dns-01 challenge for openpetfoodfacts.org
dns-01 challenge for openpetfoodfacts.org
Waiting 30 seconds for DNS changes to propagate
Waiting for verification...
Cleaning up challenges
...

 - Congratulations! Your certificate and chain have been saved at:
   /etc/letsencrypt/live/openpetfoodfacts.org/fullchain.pem
Mow we can do a real certificate, by removing the --test-cert option. We will ask to renew & replace the existing certificate (as ith was a test one), when you are asked, choose to replace existing certificate:
$ certbot certonly --test-cert --dns-ovh --dns-ovh-credentials /root/.ovhapi/openpetfoodfacts.org -d openpetfoodfacts.org -d "*.openpetfoodfacts.org"
...

 - Congratulations! Your certificate and chain have been saved at:
   /etc/letsencrypt/live/openpetfoodfacts.org/fullchain.pem
...
Now we install it on our website, we did it manually…
server {
    listen 80;
    listen [::]:80;
    server_name openpetfoodfacts.org *.openpetfoodfacts.org;

    return 301 https://$host$request_uri;
}

server {
    listen 443 ssl http2;
    listen [::]:443 ssl http2;
    server_name openpetfoodfacts.org *.openpetfoodfacts.org;

    # SSL/TLS settings
    ssl_certificate /etc/letsencrypt/live/openpetfoodfacts.org/fullchain.pem;
    ssl_certificate_key /etc/letsencrypt/live/openpetfoodfacts.org/privkey.pem;
    ssl_trusted_certificate /etc/letsencrypt/live/openpetfoodfacts.org/chain.pem;

…
}
Etc Keeper#
We use etckeeper Do not forget to commit your changes:
etckeeper commit -m "Configured my-service.openfoodfacts.net"
Now we are done 🎉
Performance tips#
Use a buffer for access log#
Use a buffer for access log for high traffic websites. eg (for off server nginx):
access_log /var/log/nginx/off-access.log proxied_requests buffer=256K flush=1s;
Install#
Install was quite simple: we simply install nginx package, as well as stunnel4.
-
The default proxmox interface does not offer options to indicate which gateway should be the default gateway, and the public ip needs to have its gateway as the default one, and there is no trivial way to achieve this reliably and elegantly, thus the best solution is to have only one gateway. See also ovh reverse proxy incident of 2022-02-18 ↩
-
the nginx script will normally do the check before trying to restart nginx, but this way you are able to also see warnings. ↩

